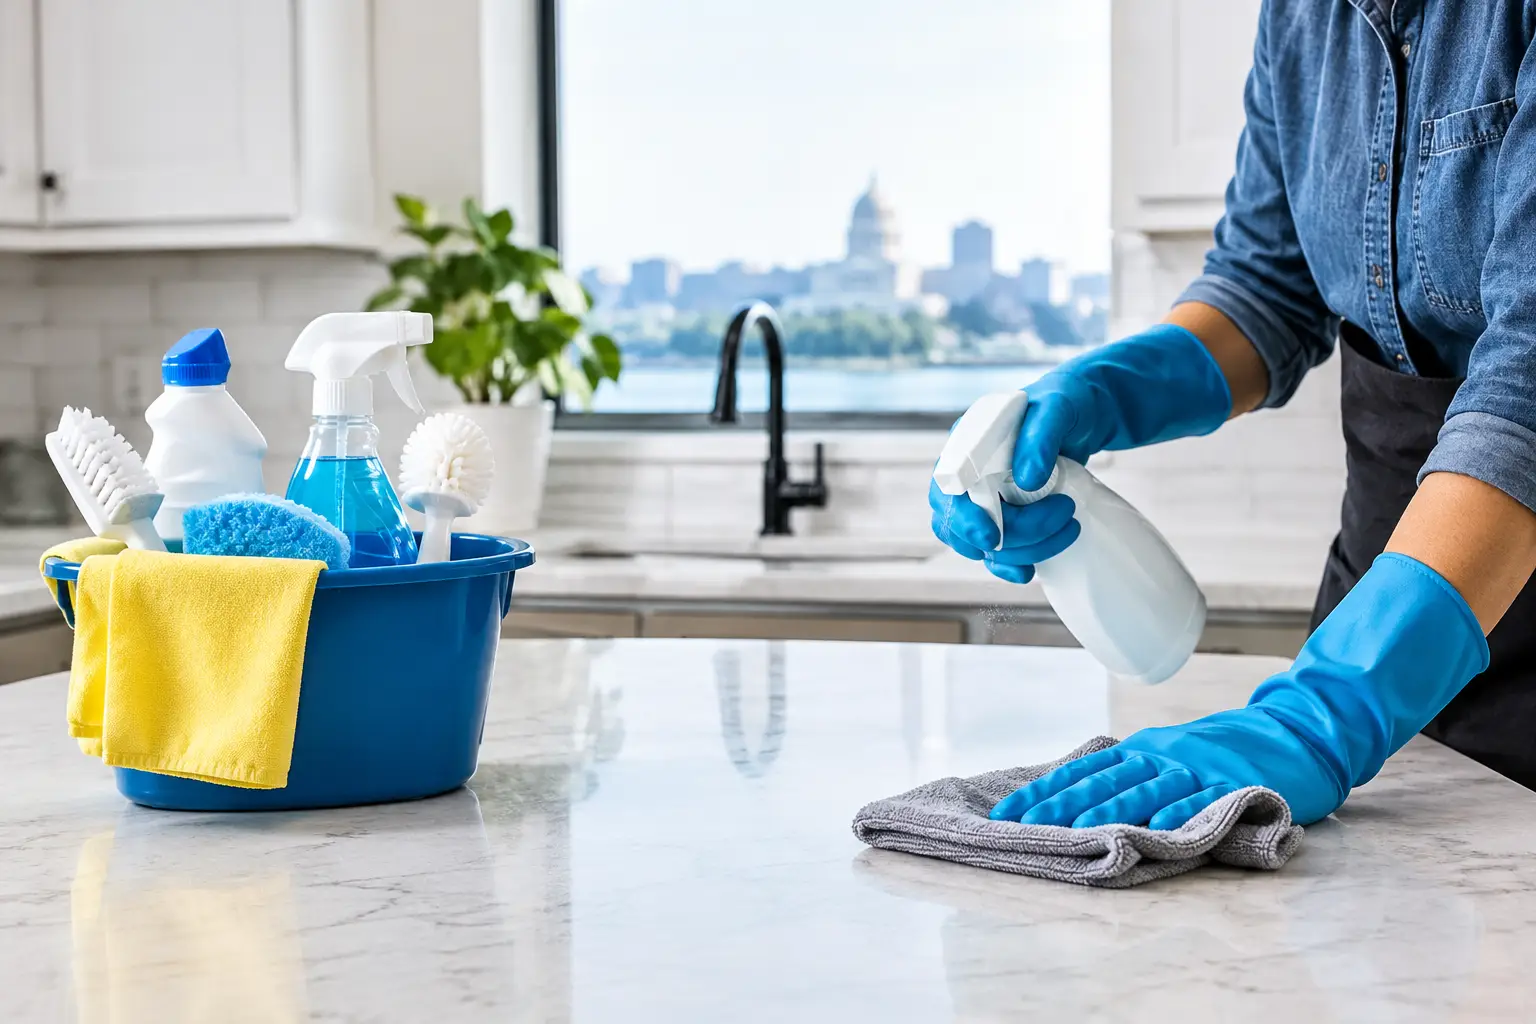
A remodeling project can leave a room looking finished while a fine gray film still settles on the windowsill, inside cabinets, and across the floor each time someone walks through. Knowing how to clean construction dust is less about cleaning faster and more about cleaning in the right order. A rushed wipe-down can send dust back into the air, where it lands on the surfaces you just cleaned.
Construction dust is not ordinary household dust. It can include drywall compound, wood particles, plaster, insulation fibers, grout haze, and debris tracked in from work areas. For Madison homeowners, renters, property managers, and business owners, a careful cleanup protects the appearance of a newly completed space and helps it feel ready to use.
Start With Safety and Containment
Before bringing out cleaning supplies, identify what kind of work was completed. Dust from a standard paint, drywall, flooring, or carpentry project usually calls for detailed cleaning and high-efficiency vacuuming. However, older properties may present additional risks.
If the project disturbed materials that could contain lead paint, asbestos, mold, or other hazardous substances, stop before attempting a typical cleanup. These materials require properly trained and equipped professionals. Do not sweep, vacuum with a standard household vacuum, or wipe suspected hazardous dust through the home or business.
For routine post-construction dust, keep the work zone contained as much as possible. Close doors to unaffected rooms, remove clean textiles from the area, and turn off the HVAC system while cleaning if practical. Replace or inspect HVAC filters once the work is complete, especially if the system ran during construction. Dust that reaches the ductwork can continue circulating long after the contractor has packed up.
Wear gloves and a well-fitting mask when handling significant dust. Open windows only when outdoor conditions allow and the airflow will not blow additional debris through the space. In a Wisconsin winter, that may mean relying on controlled ventilation rather than leaving windows open for extended periods.
How to Clean Construction Dust in the Right Order
The key principle is simple: work from high to low and from dry removal to damp cleaning. Dust falls. If you clean the floor first and then wipe a ceiling fan, the floor will need attention again.
Begin by removing obvious debris, such as protective paper, tape, scraps, and empty packaging. Check closets, cabinet interiors, drawers, and behind doors. Contractors often complete the visible room, but fine dust finds its way into every edge and enclosed space.
Next, use a vacuum with a sealed HEPA filtration system to capture fine particles rather than releasing them through the exhaust. Vacuum ceilings if needed, wall surfaces, trim, window tracks, shelves, light fixtures, vents, and upholstered furniture. Use soft brush attachments on delicate surfaces and take care around fresh paint, newly installed flooring, and unfinished wood.
Avoid dry sweeping whenever possible. A broom is effective for larger debris, but it can stir up fine drywall and wood dust. For hard floors, a HEPA vacuum followed by a damp microfiber mop is usually more effective. Change or rinse mop pads frequently. A dirty pad simply moves construction residue from one area to another.
Clean ceilings, walls, and trim first
Start at the highest points in the room. Vacuum ceiling corners, fan blades, light fixtures, and the tops of door frames. A soft microfiber duster can help collect loose particles, but it should be used gently and cleaned often.
Walls deserve special care. Freshly painted walls can be damaged by aggressive scrubbing, while flat paint tends to show streaks. Vacuum walls with a soft attachment before using a lightly damp microfiber cloth. Test any cleaning solution in an inconspicuous area first. In many cases, clean water and a well-wrung cloth are enough to remove remaining dust without affecting the finish.
Wipe baseboards, door frames, trim, switches, and outlet covers after the walls. Dust settles heavily along horizontal ledges, and these details can make an otherwise clean room still look unfinished.
Address windows, tracks, and glass carefully
Construction dust collects in window tracks, on screens, and along the lower edge of glass. Vacuum tracks first, including the corners where debris compacts. Then wipe with a damp cloth and a mild, appropriate cleaner.
For glass, remove loose dust before applying a glass cleaner. Wiping a gritty surface too soon can create streaks and, in some situations, scratch the glass. Use clean microfiber cloths and change them when they become visibly dirty.
Clean cabinets, drawers, and appliances inside and out
Even closed cabinets can collect dust during renovation work. Vacuum interiors with a crevice tool, then wipe shelves, drawer boxes, handles, hinges, and cabinet tops. Do not forget the narrow gap between appliances and cabinetry, the underside of upper cabinets, and the top edge of refrigerator doors.
For new appliances, follow the manufacturer’s cleaning guidance. Avoid abrasive products or rough scrub pads that may damage stainless steel, glass cooktops, or protective finishes. If adhesive residue remains from labels or protective film, use a surface-safe method rather than scraping it with a blade.
Give Floors More Than One Pass
Floors are the final major surface, but they often need multiple rounds of cleaning. Start with a HEPA vacuum around edges, under cabinets, and in corners. Then clean according to the floor material.
Hardwood, luxury vinyl, laminate, tile, and sealed concrete each have different moisture tolerances. Use a lightly damp mop rather than soaking the floor, particularly around seams and on wood-based products. Tile and grout may need a second pass if fine powder settles into textured areas. For newly installed floors, confirm that adhesives, grout, sealers, and finishes have cured before using cleaning products.
Carpet requires slower, more deliberate vacuuming than usual. Make overlapping passes in more than one direction, paying attention to edges and transitions. If dust is deeply embedded after a major project, professional carpet cleaning may be worthwhile once the rest of the space is fully dust-free. Cleaning carpet too early can allow new dust from walls, vents, or fixtures to settle right back into the fibers.
Do Not Forget Air Vents and Soft Surfaces
Construction dust does not stay on hard surfaces. It settles into blinds, curtains, upholstered furniture, mattresses, rugs, and air vents. Vacuum upholstery with the proper attachment, launder washable textiles according to their care labels, and wipe blinds one slat at a time with a clean microfiber cloth.
Remove vent covers where it is safe to do so, vacuum the immediate opening, and wash the cover before reinstalling it. If you see substantial dust inside the ductwork or notice dust continuing to blow into the room after cleaning, consider a professional HVAC inspection or duct-cleaning assessment. It depends on the size and type of project, but this extra step can make a meaningful difference after extensive demolition or drywall work.
Use Products That Match the Surface
More product is not always better. Construction dust is primarily a particle-removal problem, so effective vacuuming and clean microfiber materials do most of the work. Mild, non-toxic cleaning products can handle fingerprints, smudges, and final detailing without adding harsh fumes to a recently renovated home or workplace.
Avoid mixing cleaners, using bleach on every surface, or applying strong degreasers to fresh paint and new finishes. A product that works well on a kitchen counter may dull a floor finish or leave residue on glass. When in doubt, follow the flooring, paint, countertop, or fixture manufacturer’s instructions.
For households with children and pets, take special care with any residue left on low surfaces, floors, and baseboards. Green cleaning products are a thoughtful choice, but they should still be used correctly and stored securely.
Know When to Bring in Post-Construction Cleaning Help
A single-room update may be manageable with the right vacuum, time, and attention to detail. A whole-home renovation, commercial build-out, apartment turnover, or project involving multiple trades can be another matter. Fine dust may be present above ceiling tiles, behind appliances, in stairwells, and across common areas that need to remain presentable.
Professional post-construction cleaning is especially useful when a project is on a tight handoff schedule or when a property needs detailed cleaning before residents, employees, customers, or inspectors arrive. A trained team can build a custom scope around the project, from rough cleaning and debris removal to final-detail cleaning of floors, fixtures, glass, and touchpoints.
Class A Cleaning provides post-construction cleaning throughout the greater Madison area with insured, screened staff and ongoing safety education. Our team uses family- and pet-conscious green cleaning options while giving every surface the careful attention a finished project deserves.
A newly renovated space should feel like a fresh start, not a reminder of the work it took to get there. Clean methodically, allow time for dust to settle between passes, and schedule professional help when the scope calls for it. The final details are what make a completed project truly ready to enjoy.
Content Disclaimer: This article is part of Class A’s ongoing SEO and digital marketing campaign. We make every effort to keep the information accurate and current. If you find outdated or incorrect information, please contact us so we can review and update it.